In my previous posts I've described the excavation process, laying the limestone and sand, placing the edging, and a bunch of missteps and lessons along the way. Now, after all the work it was finally time to lay the pavers.
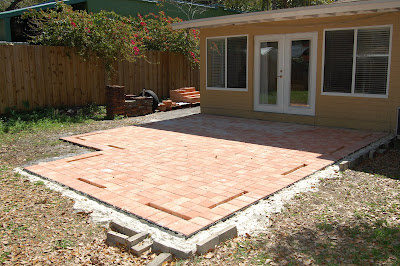
The pavers we chose were a mix of 6"x6" and 6"x9" concrete pavers. This meant that we needed a pattern that would work, and look good, with the multiple sizes. We chose to go with a herringbone-type pattern with a soldier pattern along all edges of the patio.
Laying the first paver was a great feeling.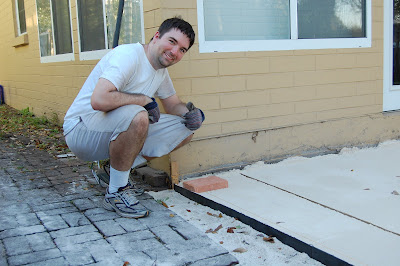
The line in the sand in the photo below was left behind when we pulled out the PVC pipe that we used to lay the 1 in. of sand. As I mentioned before, you don't have to fill that hole in all at once. Just fill it in as you go. It's much easier that way and it ensures that you're not walking on the sand.
We laid pavers down one complete edge of the patio and then started working inwards.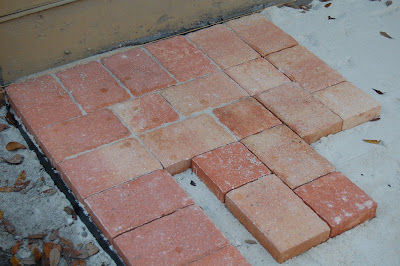
But...as I laid the pavers I really wanted them to be level. That turned into my biggest mistake of the project. I started checking each, individual paver with a torpedo level. This caused two issues:
- I ended up making things less level instead of more level by "fixing" each and every paver.
- I put my knees through hell squatting down 5-10 times for every paver.
TIP: If you have laid your crushed stone and sand correctly, just lay the pavers. Don't try to level every paver individually. It will take a LONG time and you'll end up actually making things unlevel.
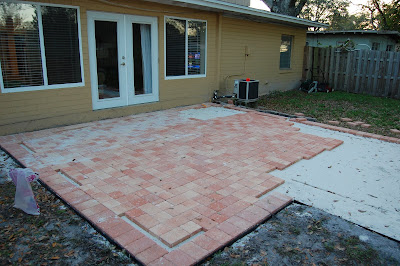
Within a few more hours, the patio was almost complete!
Following the completion of laying the pavers, we laid the remaining paver edging. Remember that previously I recommended only laying two sides of the edging to start. You can put the rest down at the end once you know exactly where the patio edges are.
The last part of the project involved filling in the holes near the edge of the patio that you can see in the photo above. The way the pattern worked out there were some areas that required 3" pavers. Off to Home Depot I went and I rented a wet saw for four hours. The wet saw worked perfectly. But, I did learn something from the guy at Home Depot about how best to use the wet saw.
TIP: When using a wet saw, place the water pump in a separate bucket instead of putting the pump in the tray at the bottom of the saw. While this means that you will have to fill up the bucket and empty the saw water tray every few cuts since the water won't continuously circulate through the system, it will prevent the paver dust from flowing through, and possibly clogging up, the water pump. This was a great tip from the guy at Home Depot.
We finished the cuts and put the final pavers in place. Even though I had been putting mason sand into the cracks between the pavers throughout, now that the patio was complete, I could finally fill in the entire patio with sand.
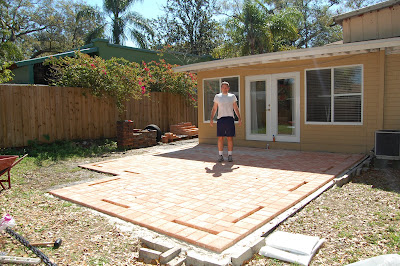
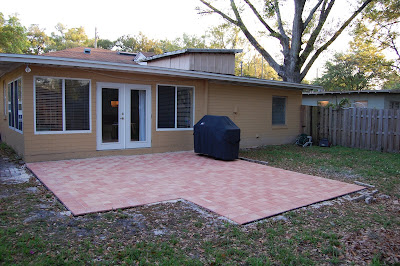
After about 50 hours of work by myself, my wife, and Eric, the patio was complete! It was a great learning experience and it adds so much to the back of the house.
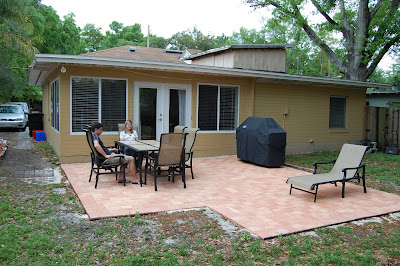
Soon afterward (meaning within days) we got a new gas grill, which I will discuss in a future posting, and a new patio set. You just can't live in a place like Orlando and not have a place to go outside and enjoy the warmth and sunshine.
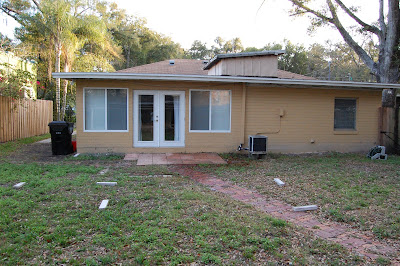
Hope you enjoyed the detailed process description and that if you ever decide to undertake building a patio project yourself someday that my descriptions, pictures, and tips help you along the way. Below are some final photos of the completed patio and the obligatory before/after photos.
BEFORE
AFTER

1 comment:
I'm not sure if you still check this or not - especially as this is a 2008 post, but I wanted to let you know that your documenting of your progress is really helpful to me in my planning of our reclaimed brick patio off the side of our garage. I have only seen your part 6 post, but I plan on looking through them all right now. Just wanted to say thanks, and congrats on having such a beautiful finished product!
Post a Comment