OK, back to the patio building after my slight digression to discuss car loans...
Fortunately for me, my friend, Eric, volunteered to come out from Dallas to Orlando for the weekend to assist with the patio building. Why, I will never know. It is not a fun project.
Before Eric made it into town, the wife and I staked the patio area using the wooden stakes and mason string. I followed some tips I read online and planned for a 1 in. drop every 8 ft. for drainage. Since the patio was 20 ft. long this translated to a 2 1/2 in. slope.
TIP: A 1 in. slope every 8 ft. turned out to be just a bit much. You could probably get away with a 1 in. drop every 10-12 ft. and be just fine.
When Eric came into town we began task #1, excavation. As I mentioned in a previous post I rented a dumpster to have somewhere to put all the dirt. How much dirt did we need to excavate? I decided to use a 4 in. base of crushed limestone (that seemed plenty - 6 in. seemed a bit excessive) On top of that we needed 1 in. of mason sand. To top it all off we had 1.75 in thick pavers. Add it all up and we needed to excavate about 7 in. of dirt.
So we started digging. And digging. And digging.

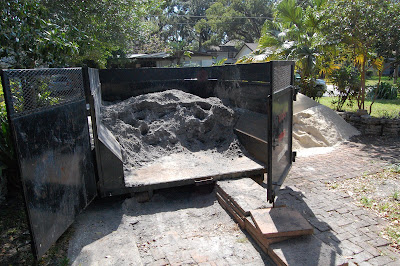
And as we dug we filled up the dumpster.
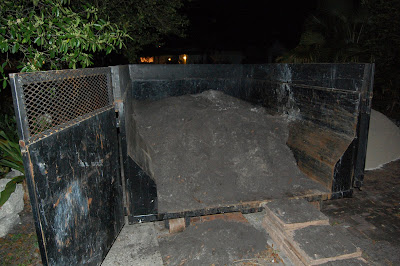
TIP: When filling a dumpster with material like dirt, make sure you check with the dumpster rental company about how full you can make the dumpster. Dirt and loose materials pack densely and are quite heavy. We were told that we could only fill the dumpster halfway full to ensure they could haul it away.
The next morning we finished the excavation and thought we were done. But then...We looked along the house and noticed that there was some concrete as part of the house foundation that stuck out a bit from the house. If we kept the pavers at the same, planned height we would have had issues with these pieces of concrete. We could have tried to break off the concrete but that could have damaged the foundation. So we decided to raise the height of the patio so that the pavers would be above the height of the concrete. And, as you can guess, that meant that we had now dug out too much dirt. It's hard to express the pain that we felt when we realized that we now needed to go back into the dumpster, take OUT dirt, and put it BACK INTO the hole. Make sure you plan your patio height adequately before excavating so that you don't take out too much dirt.
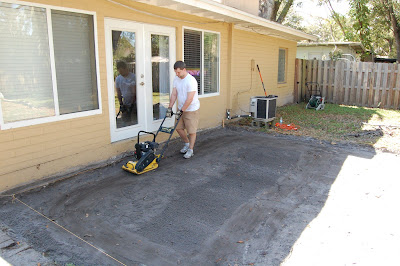
So after spending another couple hours bringing dirt back into the hole we were finished with excavating. At this point we rented a small plate compactor from Home Depot and compacted the dirt. It's always a good idea to start with a firm, level base. The small plate compactor worked just fine; we didn't need the large one for the 330 sq. ft. Plus, it fit into an SUV whereas the larger one would not have.
In my next post, I'll describe the process that went into laying the landscape fabric and crushed limestone.
1 comment:
the basement and there is no way in hell I'm gonna pay those ridiculous dumpster rental fees.Austin
Post a Comment