We had gotten to the point where the dirt was excavated and compacted so it was time to start filling in the hole with other materials (not just more dirt from the dumpster - see previous post).
The first thing we laid down was landscape fabric. We used WeedBlock (not WeedBlock Pro) that says it guarantees no weeds for 10 years. This was, by far, the easiest part of the entire patio building process. Just roll out the fabric, hammer in fabric pins (bought separately) about ever 3-4 feet, and make sure you overlap the layers of fabric by a couple inches so that weeds don't grow between each row of fabric. Sure, the weeds, even without fabric would have to grow through 7 in. of limestone, sand, and pavers, but I have seen some pretty hardy weeds and any relatively cheap things I can do to make maintenance of the patio easier in the long run seems like a wise idea to me.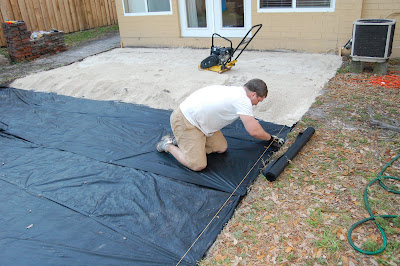
Before I move on, I will digress for a moment and talk about leveling the dirt.
We spent a good bit of time trying to level the dirt to a common depth across the excavated area. After laying down the limestone, though, we figured out that we didn't really need to spend so much time trying to level the dirt. Obviously, you don't want to have huge humps or dips in the dirt, but since we put limestone over the dirt anyway, and leveled that, the limestone filled in any unlevel spots in the dirt.
TIP: Just get the dirt excavated to where it's at just about the right depth and the slope is accurate. Once you have that done, run the compactor over it, and move on.
At this point it was time to start spreading the limestone. This is another long, painful phase if the limestone is far from the excavated spot. I had 8 tons of limestone delivered (about 1 ton more than I needed just to be sure). Wheelbarrow-by-wheelbarrow we brought the limestone back to the hole and dumped it in. We'd fill a bit of the hole, run the compactor over that area, and move to the next part of the hole.
TIP: Get a little more material than you need just to be on the safe side. For example, I had to get a stone yard to deliver the crushed limestone. They only delivered a minimum of 6 tons of stone. So if I had not ordered enough limestone they would not have delivered an additional 1-2 tons. I would have had to rent a truck and pick up the limestone myself at a significant extra cost.
TIP: You can make the compacting process go a little smoother with a hand compactor. The gasoline-powered compactor does a great job everywhere except the edges. A hand compactor comes in handy when compacting corners and edges.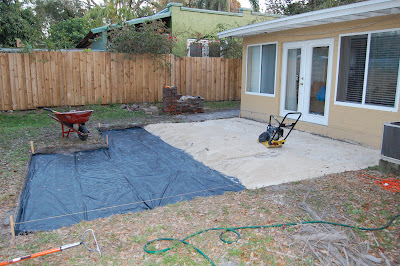
By the end of the day, we had finished filling in the hole with limestone and we called it a night.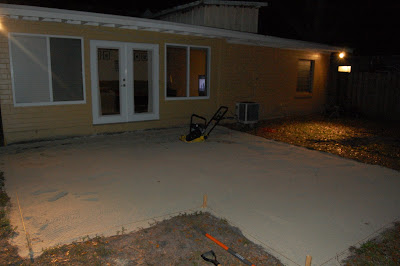
The next morning we compacted the entire area. After compacting the area, we readjusted the mason lines attached to the wooden stakes and made sure they were all at accurate levels. With the lines at the correct level we went over the entire area and screened the limestone using one of the 2x4s. This turned out to be an essential step. As we went along with the 2x4, about 1 ft. at a time, we checked the level of the limestone against the string on the border. We knew we had 1 in. of sand still to lay followed by 1.75 in. of pavers so we made sure the limestone was level and at a depth of 2.75 in.
TIP: Make sure your limestone is level and at the right depth before you start laying your paver edging and mason sand. It doesn't have to be perfect, but it will help ensure that when you lay the sand and pavers, everything ends up level.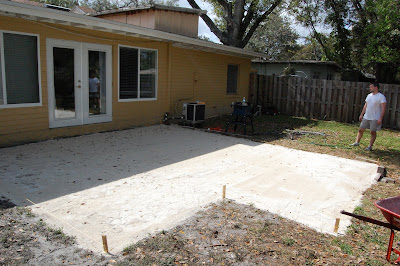
We had finished the laying down the limestone and it was time to move on to laying the patio edging and mason sand. In my next post, I'll describe how we handled those steps.
Friday, March 28, 2008
Building a Patio - Part 4
Subscribe to:
Post Comments (Atom)
2 comments:
I like how there are only pictures of Eric working, none of Budda.
Someone had to supervise and take pictures, right?...
Post a Comment